On the blog there are many tutorials on how to batch compress photos and reduce the image size in bulk Most of these are very good and are worth using.
However, if your computer is installed with Photoshop software, you can use this software to compress images in batch, without having to install or search for another software.
Okey, and in this article I will guide you to do that in a simple way, the image after compression is finished with photoshop software, the quality is still quite good, and the size after compression will decrease. going very dramatically, guys.
Read more:
Instructions for batch image compression in Photoshop
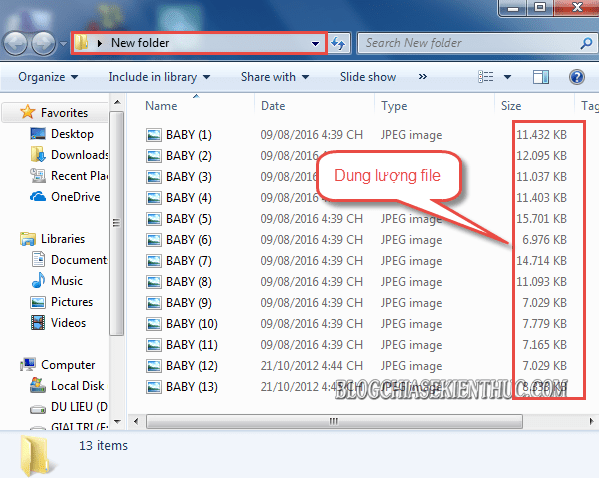
+ Step 1: First, copy the image files to be processed into a single Folder.
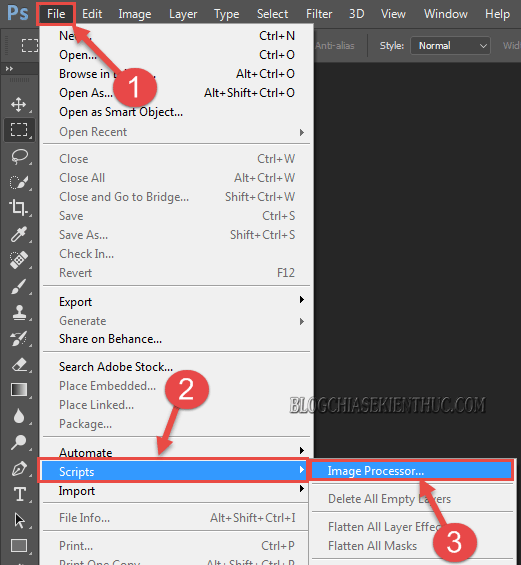
+ Step 2: Then open your Photoshop application. Here you click on the menu File => select Scripts => and select continue Image Processor…
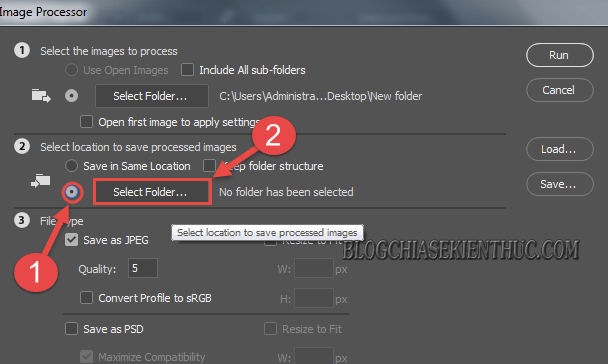
+ Step 3: Dialog box Image Processor appears, here you click Select Folfer in the section Select the Images to processor.
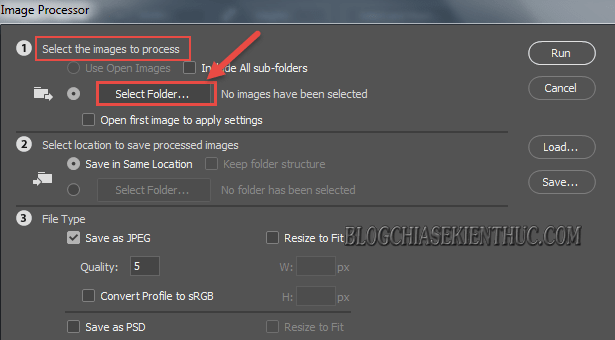
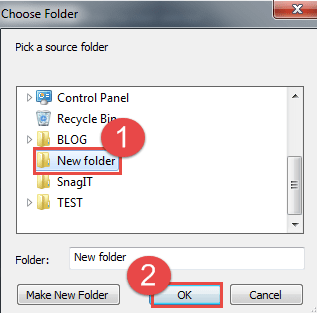
Then navigate to the Folder containing photos => and click OK to add photos to Photoshop.
+ Step 4: Then choose Select Folder at section Select location to save processed images => and select Select Folder same picture.
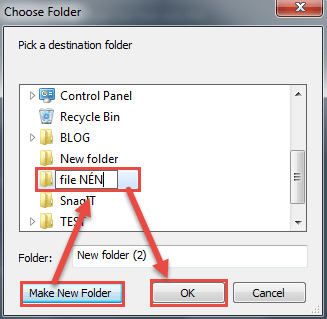
+ Step 5: At the dialog box Choose Folder, you click on Make New Folder To create a new tolerance (name it if necessary) => then press OK to create the path to save the file after we finish compressing.
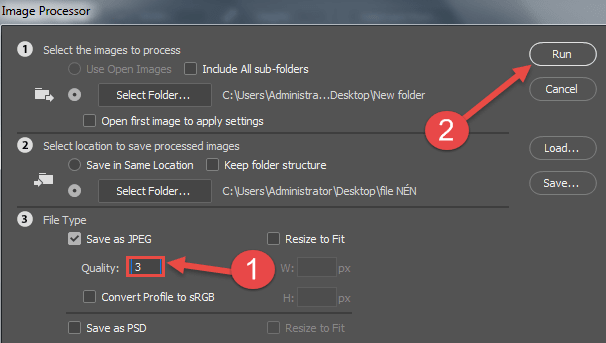
+ Step 6: At the dialog box Image Processor, you reduce the share Quality (quality) down 1-2 compared to the default index => and press Run to start compressing.
Then wait a moment for Photoshop to automatically compress your image file.
To get results before, and after compressing the file. Here you can clearly see your photo storage is significantly reduced.
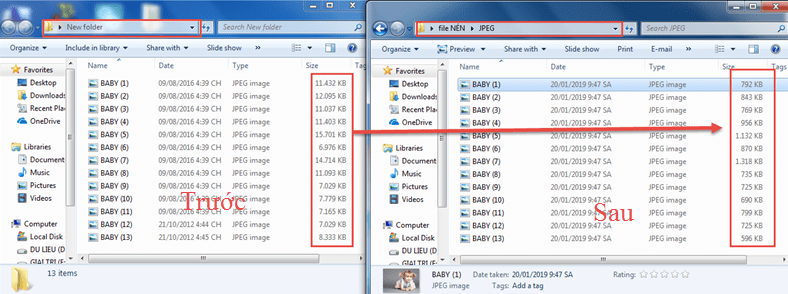
So we have just done a batch of image compression in Photoshop very professionally already, with compression of image file quality reduction from 1-2, the image quality after compression is complete compared to the original image almost no change.
Epilogue
Now you can completely use these compressed images to store photos on your hard drive without worrying about the size, and quality of the photos. Or you can use these images to upload to your websites, forums ... or blogs to speed up the loading of Web / blog!
Here, the tutorial How to batch compress image files in Photoshop? I also would like to pause. Hope this little tip will be helpful to you.
Good luck !
CTV: Luong Trung - Blogchiasekienthuc.com
Note: Was this article helpful to you? Do not forget to rate the article, like and share it with your friends and relatives!

0 Comments